Tutorial Structure
Each XRP Ledger tutorial follows the same format.
- A brief description of the features illustrated in the tutorial.
- Prerequisites for running the code, if needed, or links to the sample code.
- Usage examples of the features in the tutorial.
- A code walkthrough of the sample application, highlighting unique elements in the scripts.
- See Also, with links to conceptual information or good tutorials to try as a next step.
Separate setup (prerequisites) from usage from code development. These are each different activities that engage different areas of the brain. Trying to think of all three elements at once leads to confusion and headaches.
Description
List what the sample demonstrates. If possible, each example should describe the steps to accomplish specific related tasks. (For example, create a NFT Sell Offer, Accept a Sell Offer, Delete a Sell Offer.) There should be enough conceptual information to understand what the tutorial illustrates, with links to additional conceptual information, if needed.
Prerequisites
Provide links to any required software and to all of the example code needed to run the tutorial. If necessary, give simple instructions for using third-party tools, but provide a link to the source website for the customer to do a deeper dive at their leisure.
Usage Example
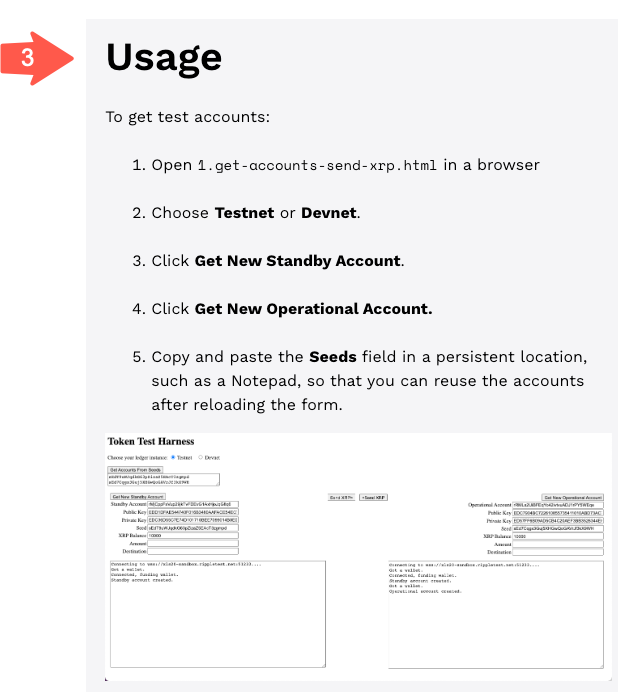
Start by providing a finished, working example of the tutorial application. This is an opportunity for immediate success working with the software to solve a problem.
Use screenshots for each step of the tutorial – these allow the user to understand the tutorial without having to run the code themselves. Of course we want them to run the code, but this gives them a choice.
Describe the sunny day scenario. The application should run without problems if there is an uninterrupted connection to the internet. Don’t provide a lot of troubleshooting information, unless it’s pertinent to the tutorial.
Code Walkthrough
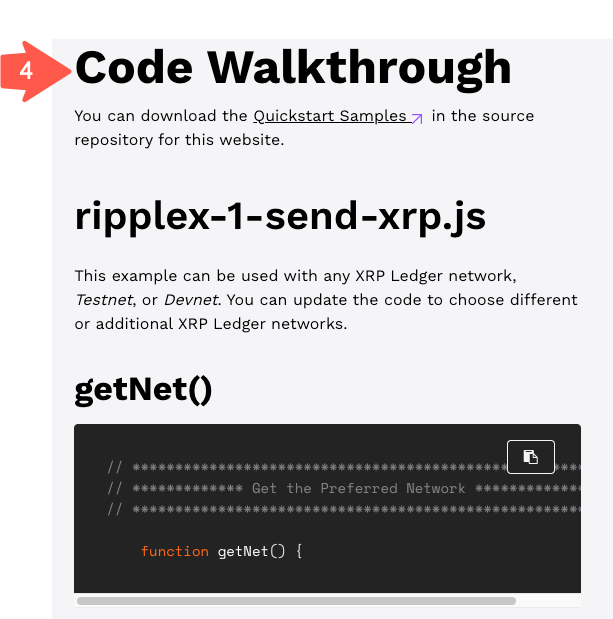
Walk through the code, one chunk at a time. Don’t belabor topics that have been discussed in earlier examples. Provide sample code, but don’t provide exhaustive explanations for how to program underlying platforms like HTML syntax unless there is something unique to the implementation.
An important thing to emphasize is that every interaction with the XRPL is either a transaction or a request, and that all transactions and requests are essentially the same. The sample code we provide shows how to prepare the transaction or request, and how to process the returned results. Knowing how to submit and respond to one transaction or request gives a pretty good idea for how to submit and respond to any transaction or request.
(Technically there is third category, similar to a request: a notification from a subscription stream. See Subscription Methods.)
See Also
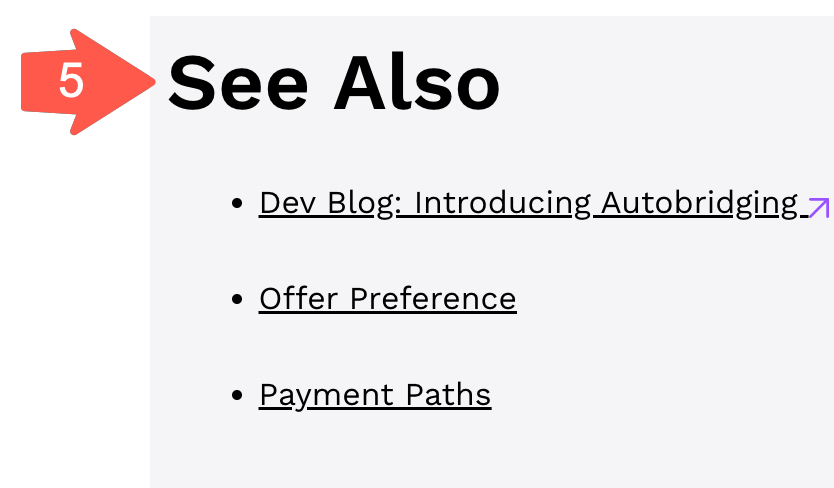
At the end of the tutorial, provide links to additional resources, conceptual information, and any tutorials that would be a sensible next step in the learning journey.